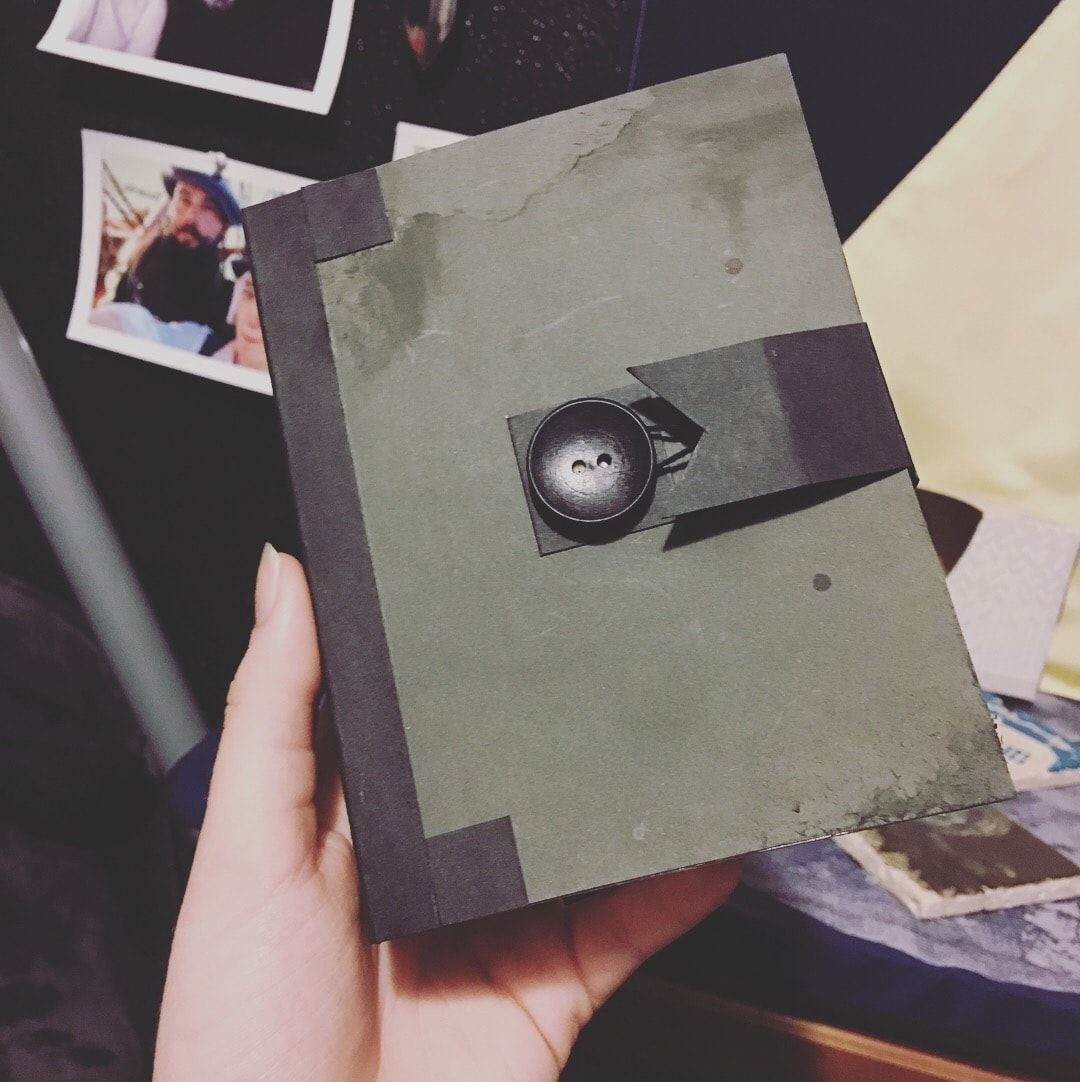
Looking for a neat little book to keep your thoughts and memories in? Don't want to spend 20 bucks on a journal from the store? Well, you're in luck because here is an easy way to craft your own precious book that looks even better than most store-bought journals!
What you'll need:
1 cardboard snack box
18 inch grid ruler
Pencil
Scissors
Printer paper
4 Binder clips
Exacto knife
Phillips-Head Screwdriver or Ice Pick (something thin and pointy)
Hammer
Paint brush
Wood Glue (very durable)
Embroidery thread
Yarn needle
Preferred colored cardstock
Button
Sharpie
What you'll need:
1 cardboard snack box
18 inch grid ruler
Pencil
Scissors
Printer paper
4 Binder clips
Exacto knife
Phillips-Head Screwdriver or Ice Pick (something thin and pointy)
Hammer
Paint brush
Wood Glue (very durable)
Embroidery thread
Yarn needle
Preferred colored cardstock
Button
Sharpie
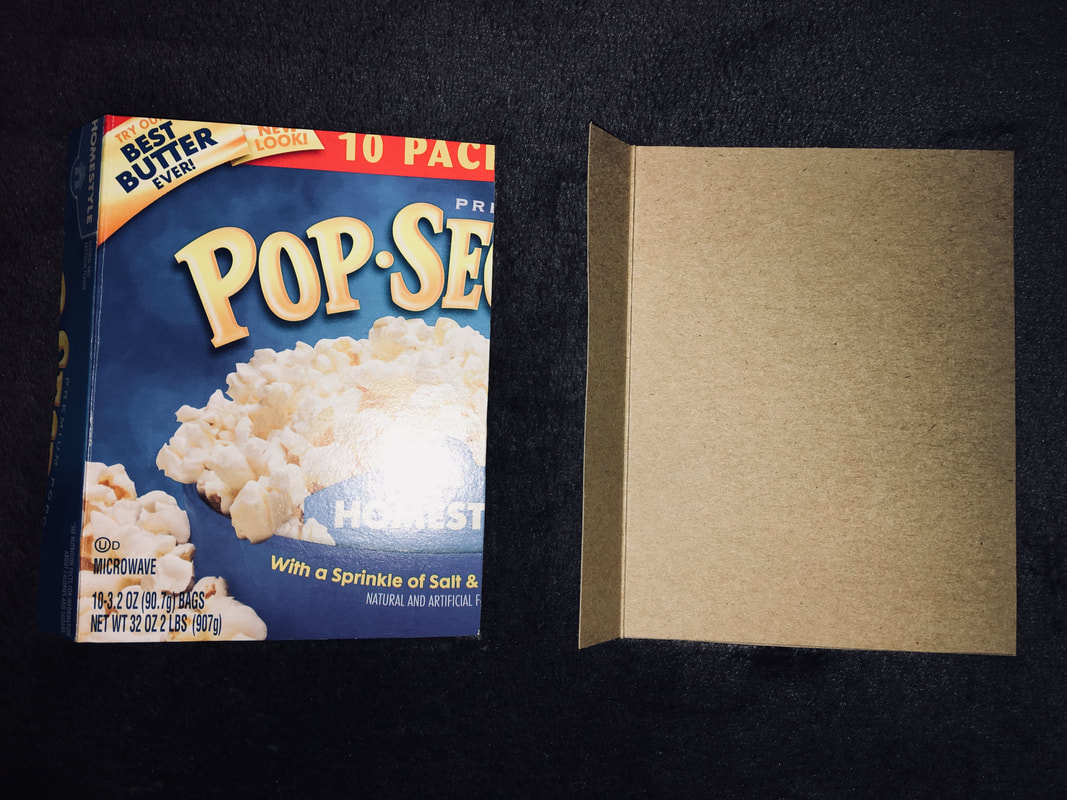
Step 1: Find An Empty Snack Box
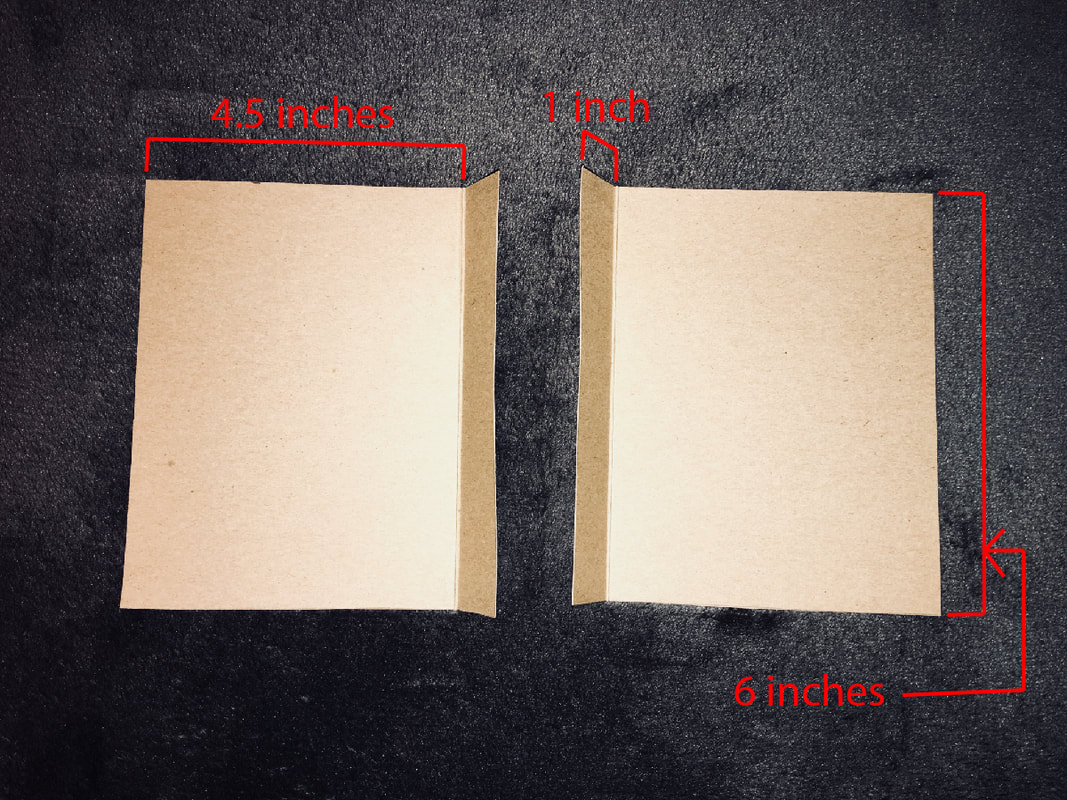
Using an empty snack box, whether it's a pizza box, popcorn box, or cracker box, separate the sides and flatten it out. Measure (with the binds at creases or corners) two rectangles 5.5" x 6" ... The width would look like 4.5 inch, then the crease, then 1 inch.
Step 2: Gather, Measure, and Cut Paper
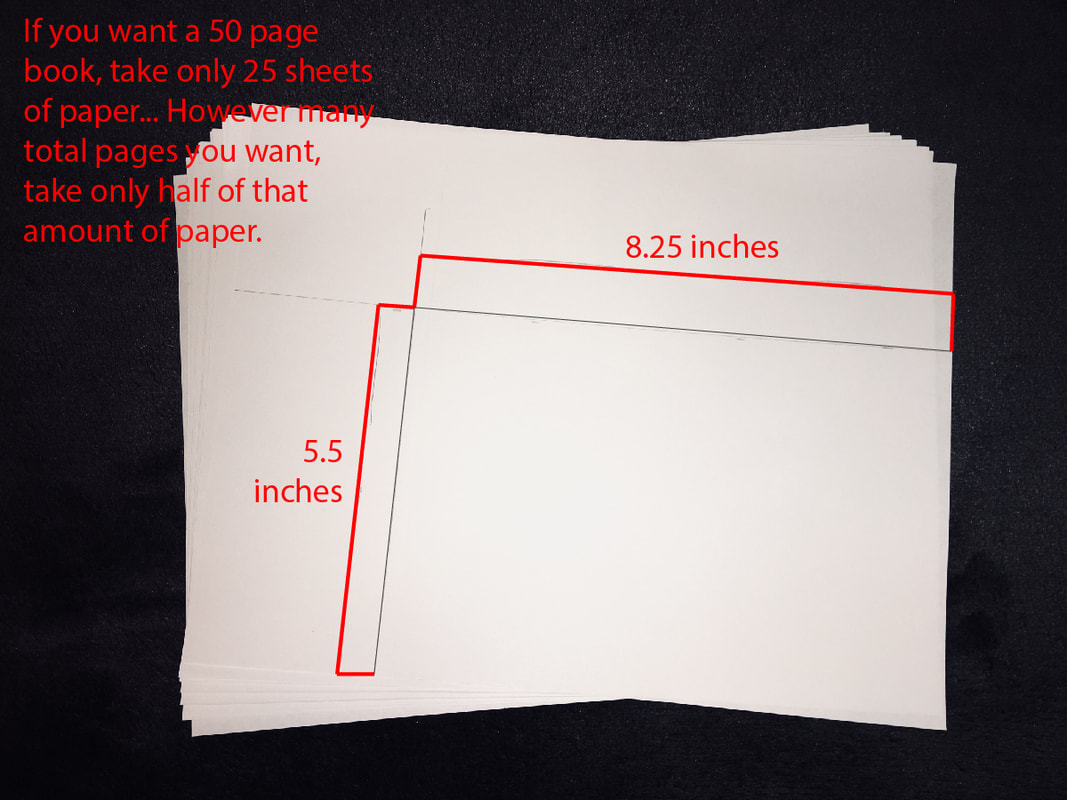
For your book pages, say you want a 50 page book. You won't take 50 sheets of paper; instead, you'll take 25 sheets because those will then be folded in half, which then gives you 50 pages to turn in your book. Same goes for any other number of pages you want; just split that number in half.
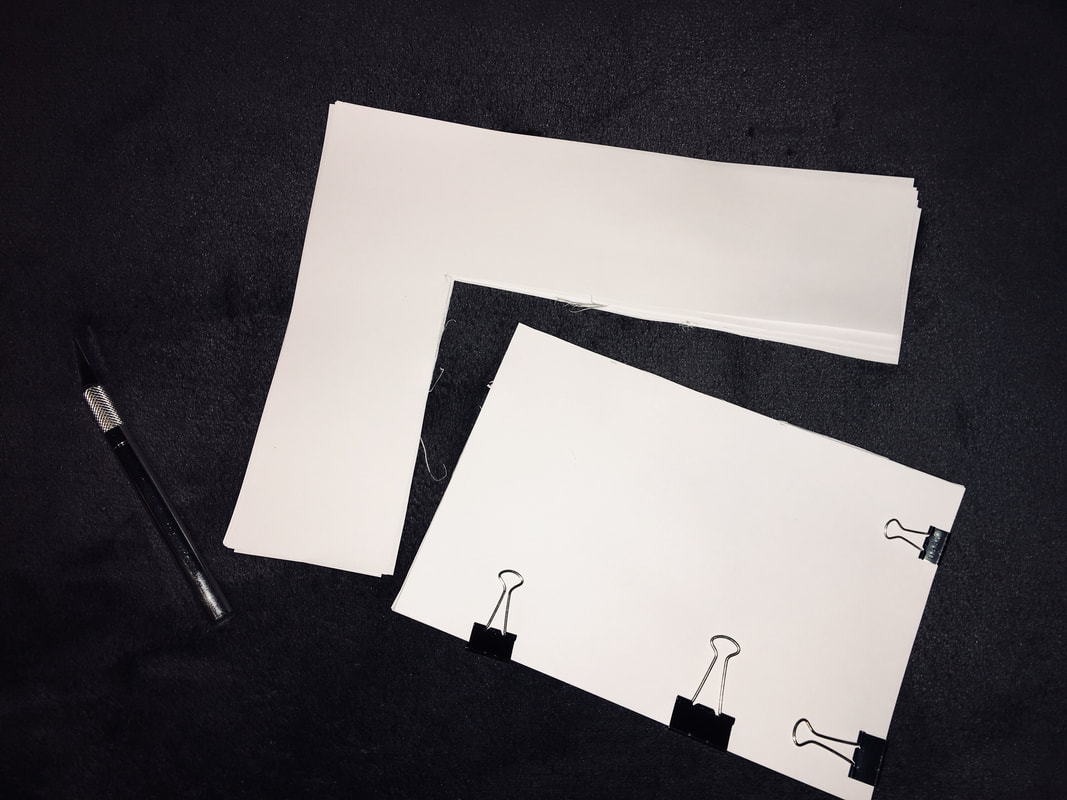
Measure your pages a little smaller than your book cover. I made it so there would be about a quarter inch difference around each side. If your cover is 4.5" x 6", then make each individual page 4" x 5.5" .. Measure the page width as a whole (8.25" (I included the quarter inch just for folding allowance purposes)). So in the end, you'll be cutting out a stack of sheets that are 8.25" x 5.5" . Clip the pages together and cut along the lines with an Exacto knife.
Measure your pages a little smaller than your book cover. I made it so there would be about a quarter inch difference around each side. If your cover is 4.5" x 6", then make each individual page 4" x 5.5" .. Measure the page width as a whole (8.25" (I included the quarter inch just for folding allowance purposes)). So in the end, you'll be cutting out a stack of sheets that are 8.25" x 5.5" . Clip the pages together and cut along the lines with an Exacto knife.
Step 3: Measure Holes and Punch
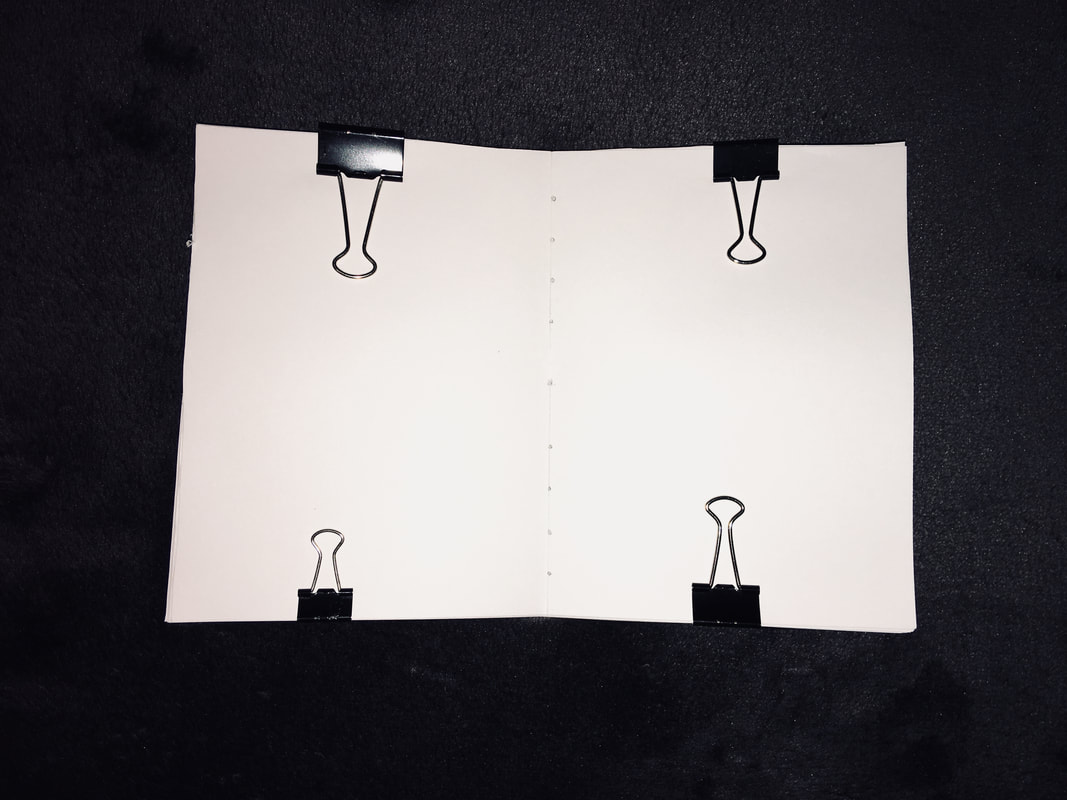
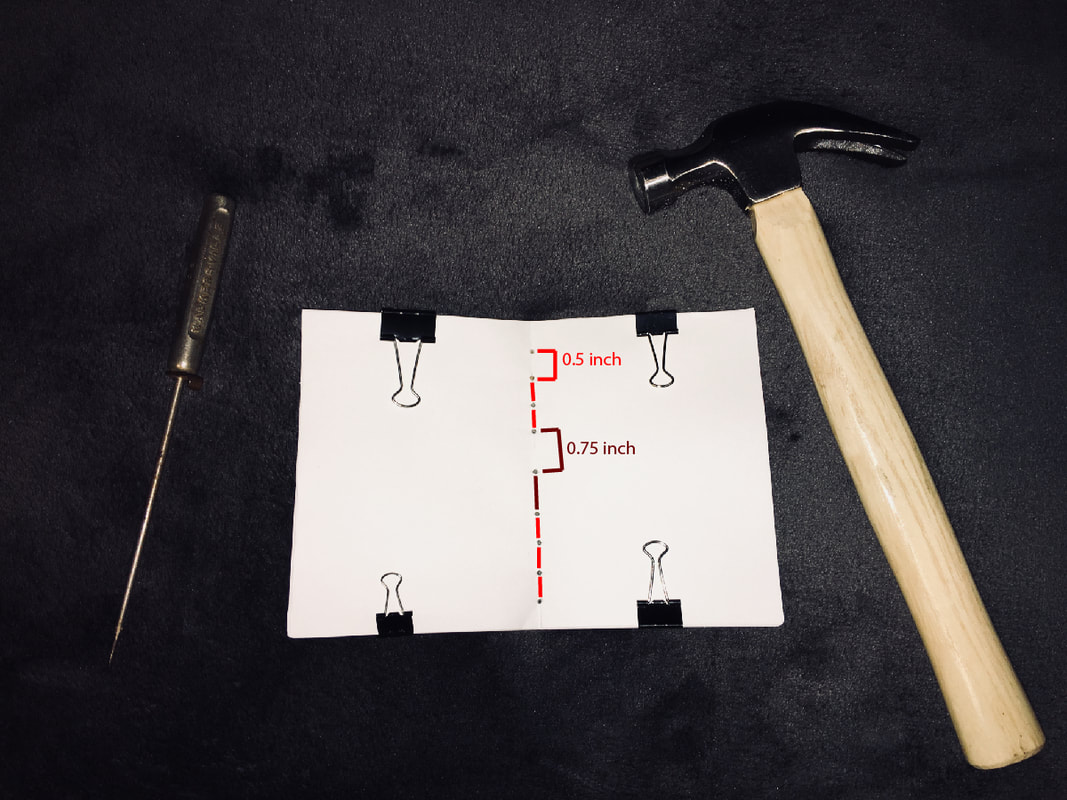
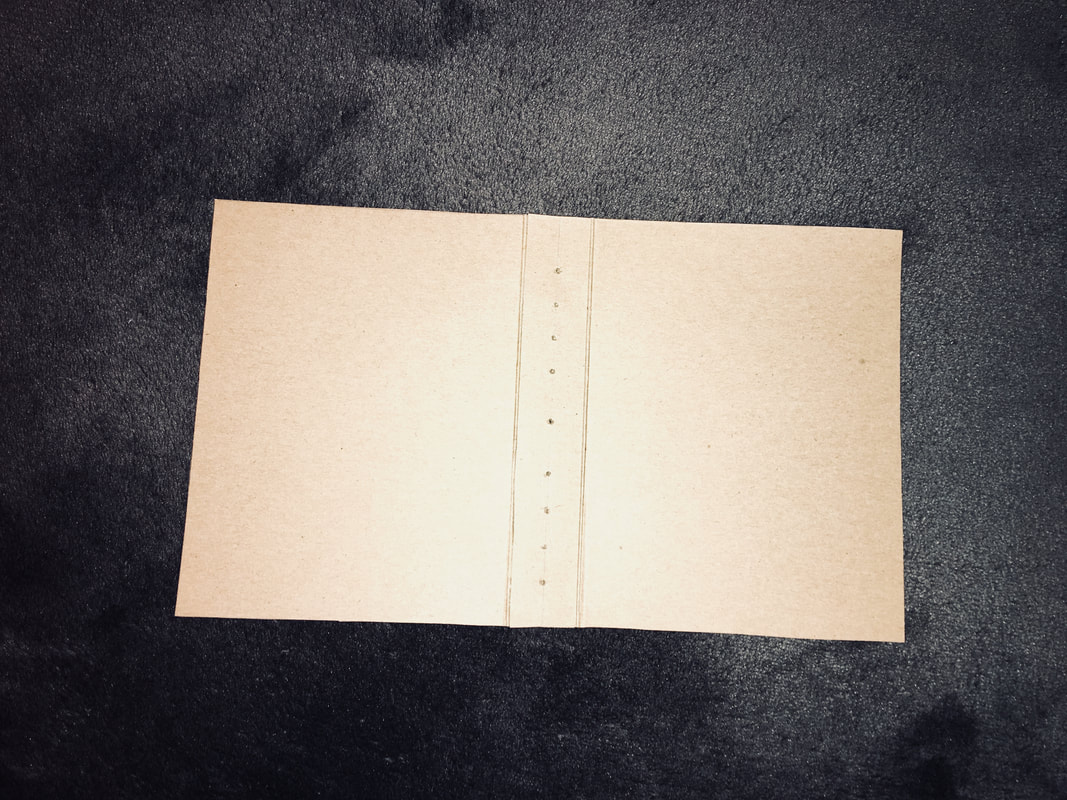
Remove the binder clips and then fold each sheet in half. Put the binder clips back on so there is a clip on the top and bottom of each page. Along the fold, measure an odd amount of dots, usually spaced a half inch apart. My dimensions got messed up, so the space between the middle three holes was three-quarter inch.
Using something thin and pointy like an ice pick or small screwdriver, put the point on each dot and hammer it through to the other side.
Using something thin and pointy like an ice pick or small screwdriver, put the point on each dot and hammer it through to the other side.
Step 4: Glue, and Repeat for the Cover
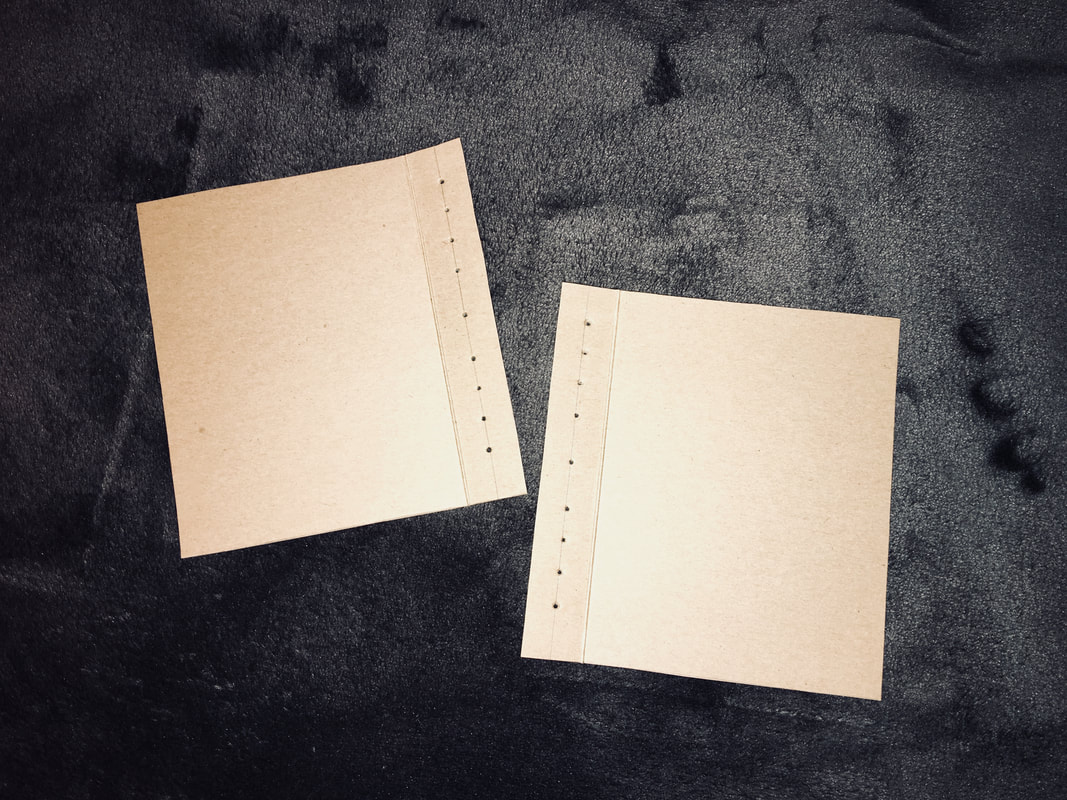
Using wood glue, glue your cover halves together at their bind. Then line up your pages so the fold is centered with the middle of your bind. Clip the pages to the cover and punch through the same holes.
I accidentally punched the holes before gluing, but it still lined up just fine.
I accidentally punched the holes before gluing, but it still lined up just fine.
Step 5: Sew the Pages to the Cover
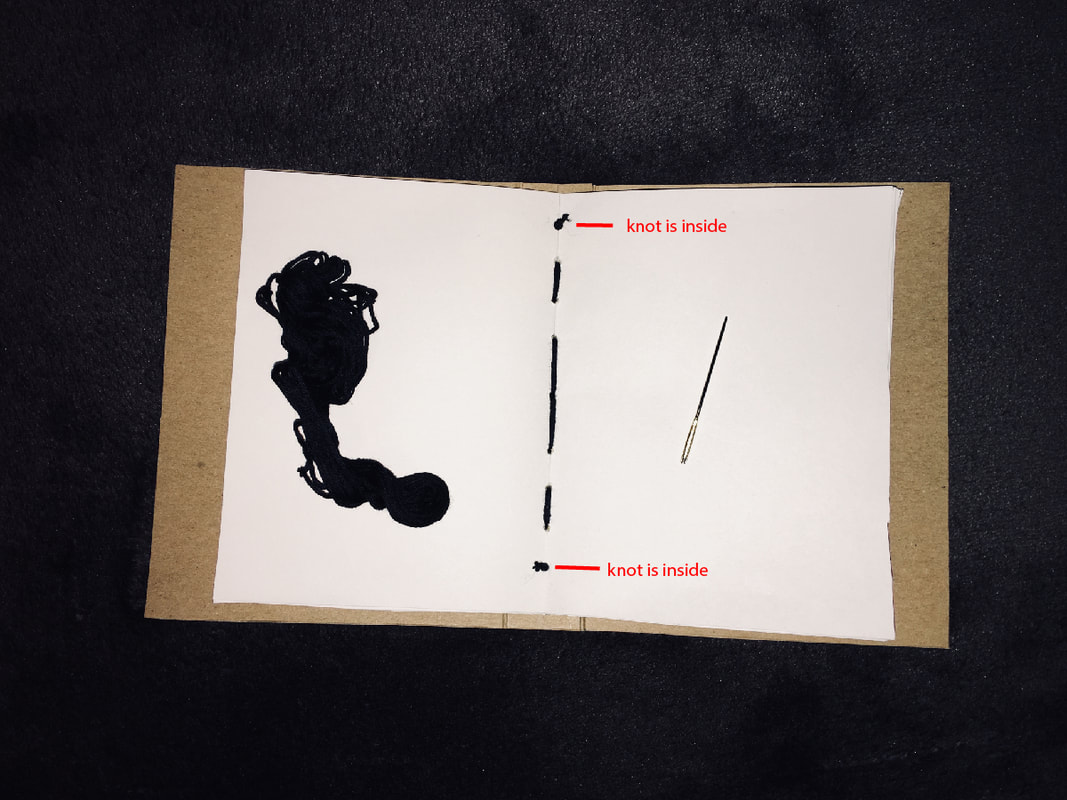
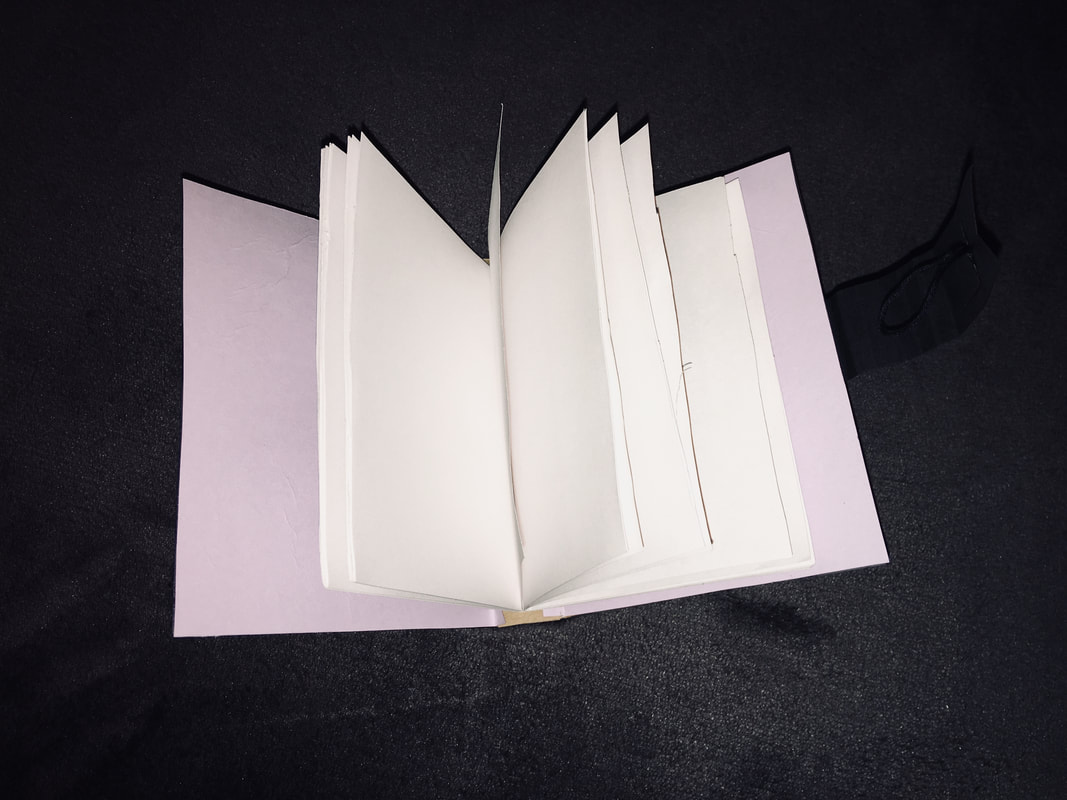
With a yarn needle and embroidery thread, sew your pages to the cover. Make it so your thread starts and ends on the inside so there isn't a knot on the outside which would mess up your bind.
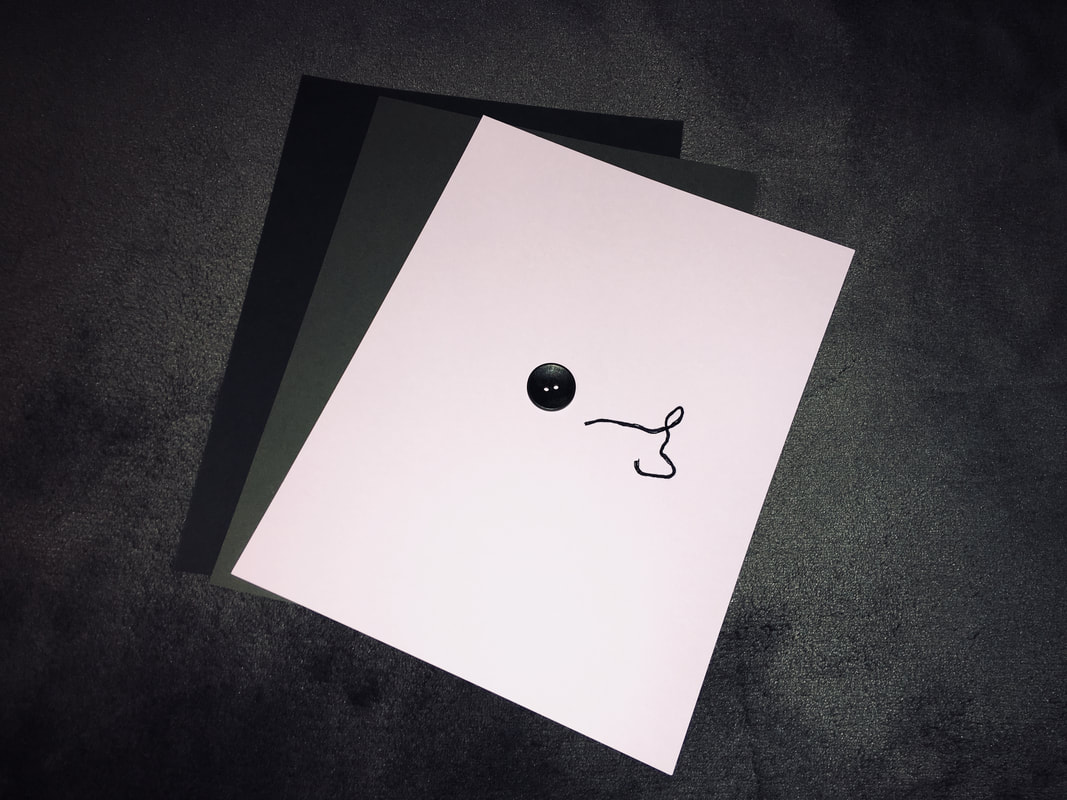
Step 6: Gather Colored Cardstock, Cut to Parts
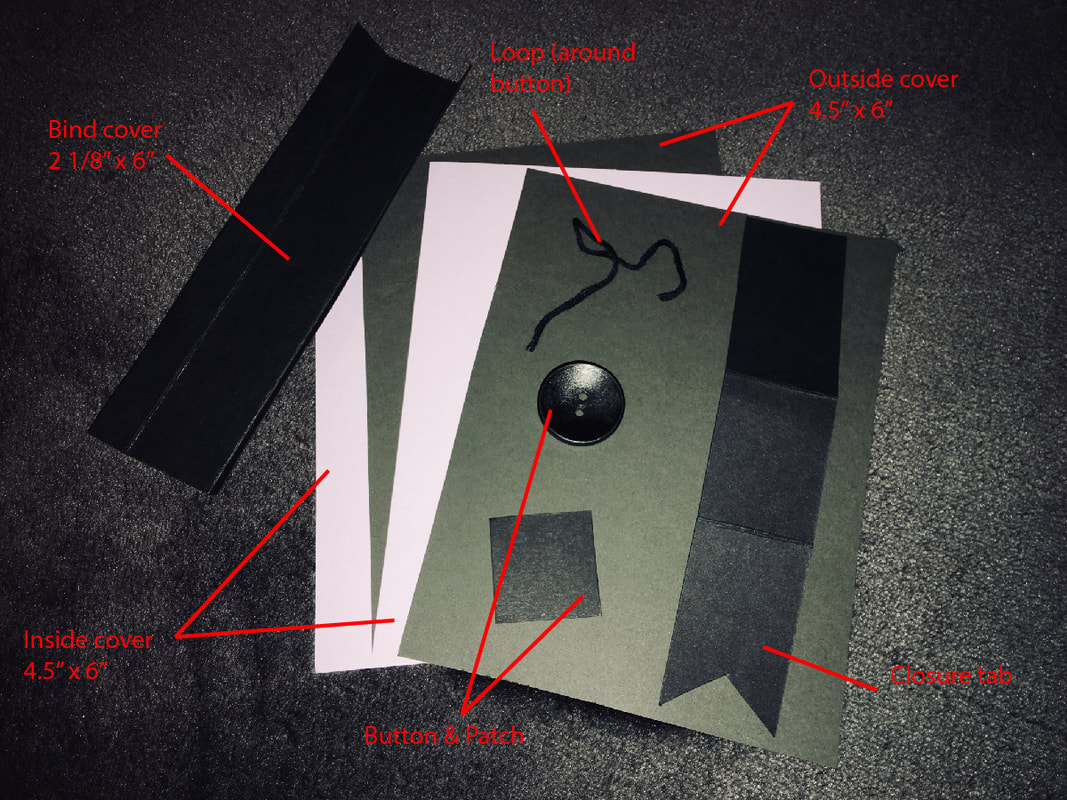
Gather colored cardstock, a button, and more embroidery thread to cover your book. Measure paper to cover the outside and inside of your book cover, as well as a piece to cover the bind. Glue everything with wood glue. Brush the glue onto the cover so there aren't globs of glue just in the middle, make sure there is glue on all the edges.
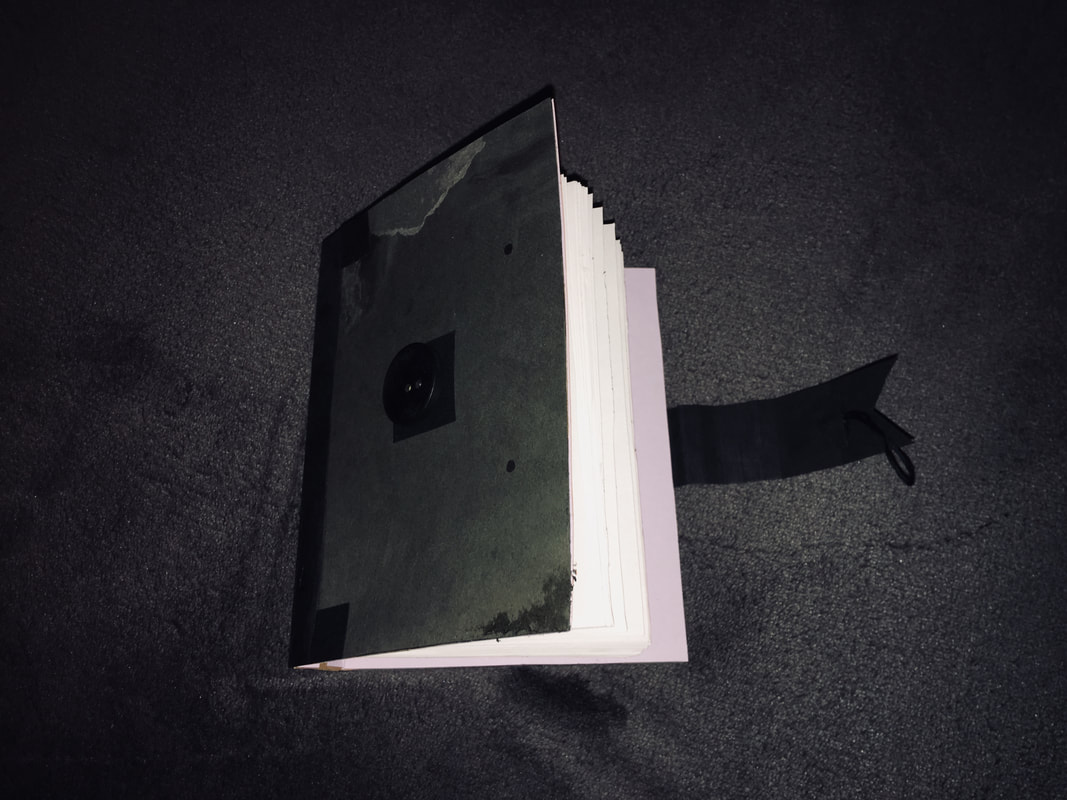
Cut out a piece for a closure tab and a patch for under the button. glue the patch to the center of your cover and glue the button to the patch.
To figure out where to put your closure tab, line up the pointed edges with the first corners of the button patch. Where the tab crosses the end of your cover, fold it down, fold again when it reaches the bottom of the cover, and glue the last bit to the back of the book.
There's no true way to measure the length of the embroidery thread; you just have to test it that you'll still be able to get it around the button once its attached to the closure tab.
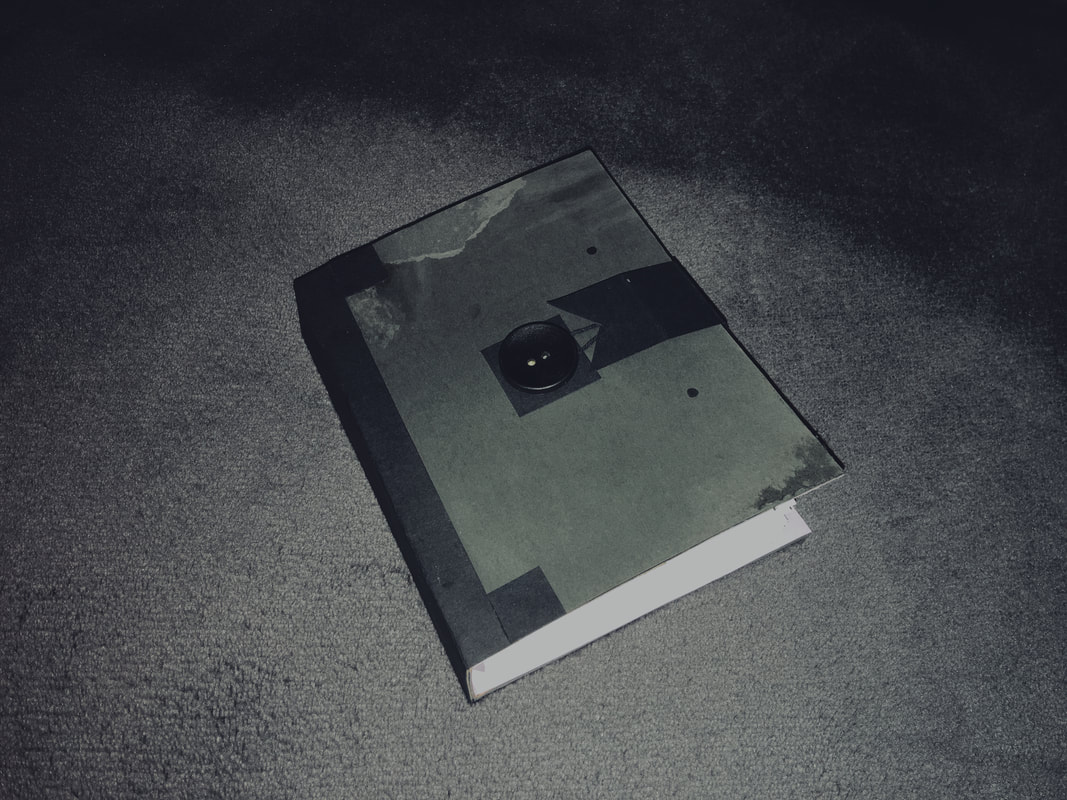
Step 7: Finished!
Grunge it up, draw on it, add extra patches for decoration if you'd like. And you're done!
